How to Shop at an Independent Stationery Store: A Paper Lover's Checklist
October 31, 2026 - Stationery

October 22, 2026 - Daily Practice
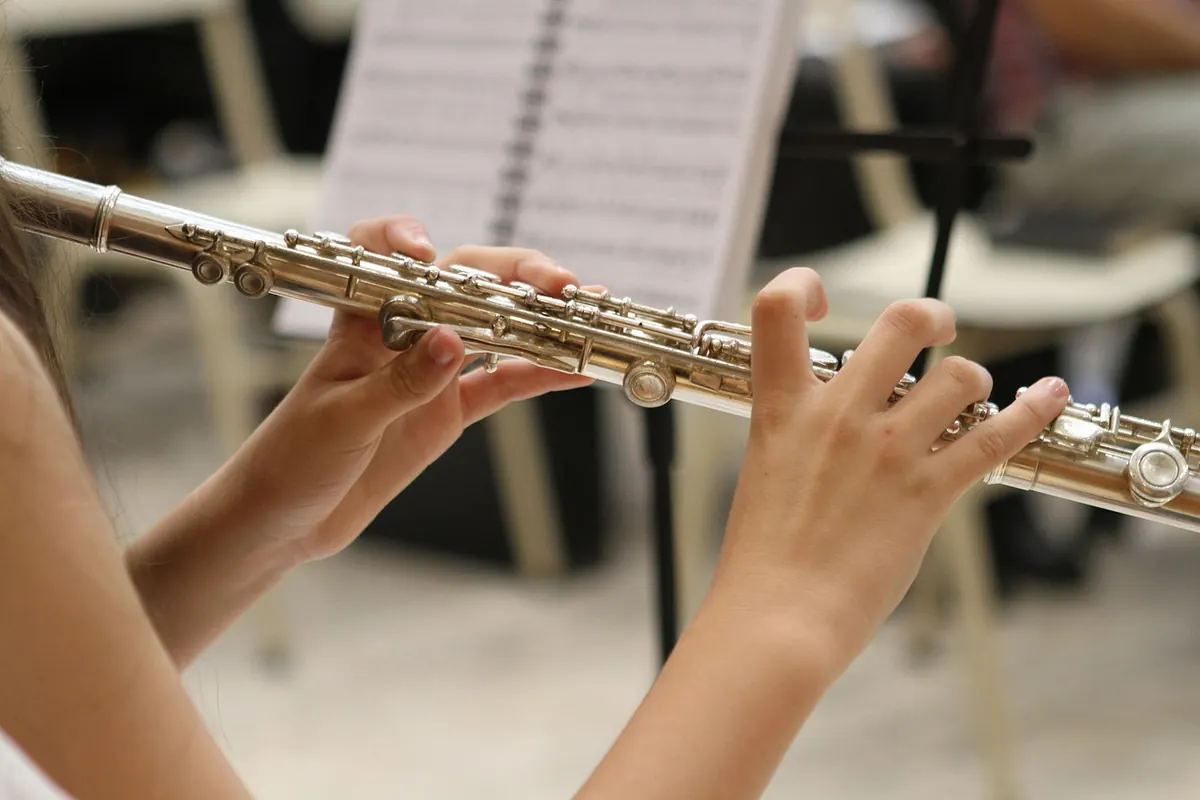
The first line of a calligraphy session is almost never your best. The nib catches, the wrist is stiff, and the ovals come out looking like eggs. Five minutes later everything loosens and the letters start behaving themselves. A warm-up simply moves that loosening to the front of the session, where it does some good — so that the fifteenth line of the day becomes your baseline instead of your ambition.
Fifteen minutes is enough. Not because there is anything magic about the number, but because it is short enough that you will actually do it before every session, and long enough to cover posture, a handful of foundational strokes, and enough repetition to feel a difference in your hand.
Most control problems at the page begin about half a metre away from it. Before you load a nib, check the setup.
Feet and chair. Feet flat, hips level or slightly higher than the knees. If your chair is too low, the whole arm has to work against gravity and the fine movements in the fingers get lost.
Table and forearms. Your forearms should rest on the table with the elbows around a right angle. If you are hovering, the shoulder tightens within ten minutes and the strokes shorten.
Paper angle. For pointed pen work, most right-handed writers turn the paper so the writing line runs at roughly twenty to forty-five degrees away from the table edge; left-handed writers usually rotate the other way. Broad-edge work is often easier with the paper nearly square to the edge. None of these are laws — find the angle where your elbow stays close to your body and your hand can travel without lifting the shoulder.
Grip. Hold the pen firmly enough that it does not wander, lightly enough that the knuckle of your index finger is not white. A useful test: write a few strokes, then lift the pen and let the hand hang loose for a second. If your fingers stay curled and rigid, you were gripping too hard.
If a session regularly ends with a numb hand, a sore shoulder or a stiff neck, treat it as a setup problem rather than a talent problem. Persistent pain is worth raising with a physiotherapist or your doctor rather than working through.
The routine below assumes a pointed pen or a fine brush pen, but the shape of it works for any tool. Set a timer for the whole thing, keep a stack of cheap practice paper to hand, and use scrap for everything except the final two minutes.
The straight line. It teaches pressure and direction. Draw it slowly enough that you can feel the nib's tines open, and stop cleanly rather than tapering off into a hook.
The oval. The oval is the engine of most roundhand and italic scripts. Its job is to show you whether your exit stroke is smooth and whether the shape is consistent. Draw them clockwise for pointed pen minuscules, counter-clockwise for many broad-edge forms, and keep the width of every oval on the row identical.
The ascending loop. Loops expose speed changes. If they are wider at the bottom than the top, you slowed down at the wrong moment.
The compound curve. Two or three changes of direction in one stroke, with no pen lift. This is where smoothness is built, and where most people discover that their fingers have been doing the work the arm should be doing.
Loops are the drill people skip, usually because they look childish on the page. They are also the fastest way to find out whether your movement is coming from the arm or from the fingers.
Draw them large — three or four centimetres tall — and let the arm carry the pen while the fingers only hold it. Count quietly as you go: one loop per beat, at a steady tempo. Resist the urge to slow down as you cross the loop; a slight, even speed is what keeps the crossing point in the same place. If the loops start to lean, check whether you are rotating the paper or the wrist.
The most common mistake is drawing loops with the fingers alone. The pen travels a few millimetres, the fingers cramp, and the loops come out the size of peas. If that happens, go back to the free loops from minute two — big, fast and loose — until the arm remembers its job.
Load the pen with an even amount of ink and draw three horizontal strokes on one line.
Then repeat the ladder as a single stroke that swells in the middle and returns to a hairline. This is the warm-up that most directly improves your writing, because it calibrates your hand to the ink rather than to the paper. A fresh nib may behave differently from one you have used for a month, and a humid day changes the flow.
Do not throw the warm-up page away unread. It is a diagnostic sheet, and after a few weeks you will recognise your own patterns in it.
For broad-edge work, replace the loops with pen-angle drills: rows of full-width strokes, then ladders of diagonal strokes at a consistent angle to the writing line. Ten minutes of those before a broad-edge session does more for your letterforms than ten minutes of copying.
Brush pen users can keep the routine almost as written, but should add a few strokes that travel from tip to full body and back to the tip, since pressure control is the whole game with a brush. Pencil and fine-liner writers can skip the ink-related drills and lean on the ovals and loops.
Keep a dedicated pad for warm-ups and date each page. It costs nothing and gives you a record of your hand on ordinary days, which is far more useful than a folder of finished pieces.
Do the routine even when you only have twenty minutes to write. Fifteen minutes of warm-up and five minutes of real work will improve your script faster than twenty minutes of fighting a cold hand, and the habit protects the short sessions as well as the long ones. Give it two weeks before you judge it. By then the first line will no longer be the worst thing you write all day — and you will notice the change in the middle of a page, not at the end.
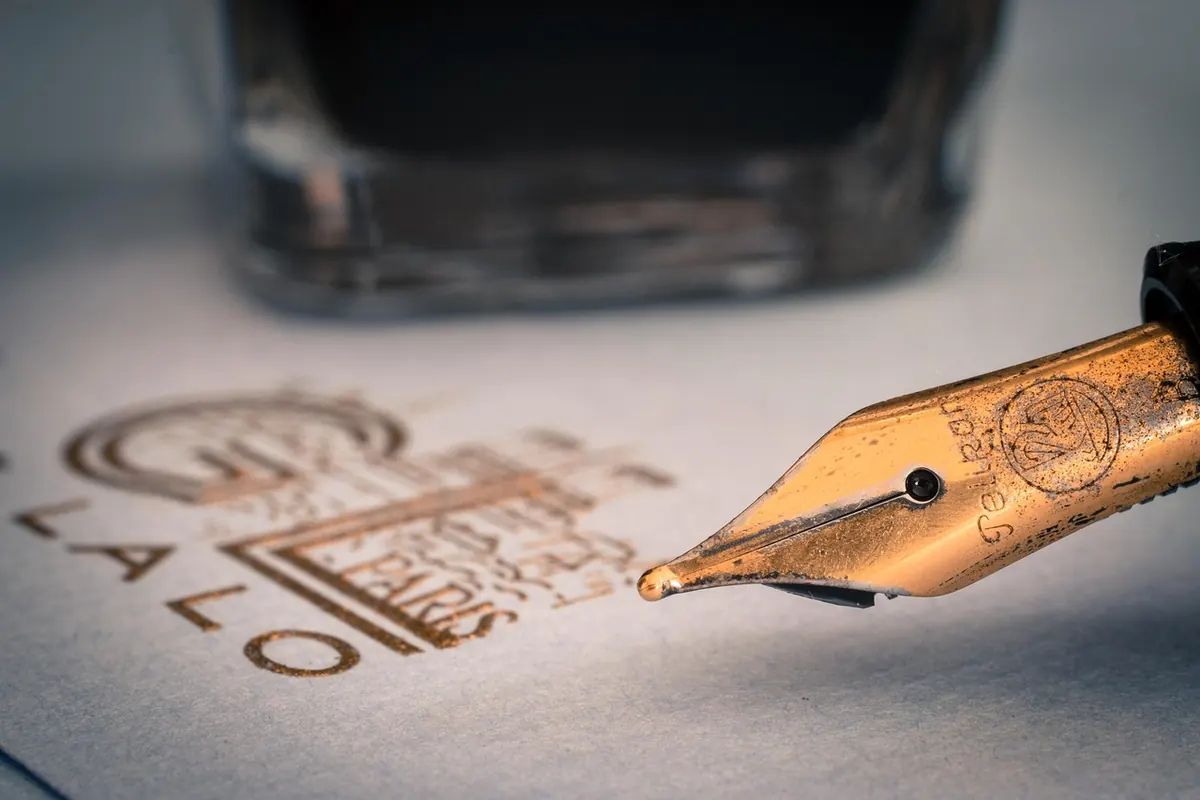
Photo: brendageisse / Pixabay
A practical checklist for shopping at independent stationery shops: how to test paper, ask the right questions about...
A practical comparison of brush pens and dip pens for new calligraphers, covering control, setup, cleanup, cost and...
Copyright © 2026 Amanuense Ogni Giorno. All Right Reserved.